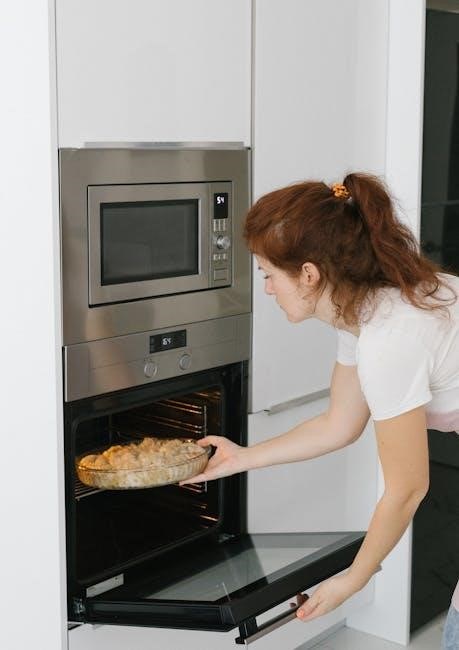
Choosing the right grease trap size is crucial for commercial kitchens. An online calculator lets you enter fixture counts‚ oven types‚ and cooking volume to recommend the correct Grease Guardian model‚ flow rate‚ and capacity. Accurate sizing prevents costly maintenance and code violations. Now.
Why Accurate Sizing Matters for Kitchens
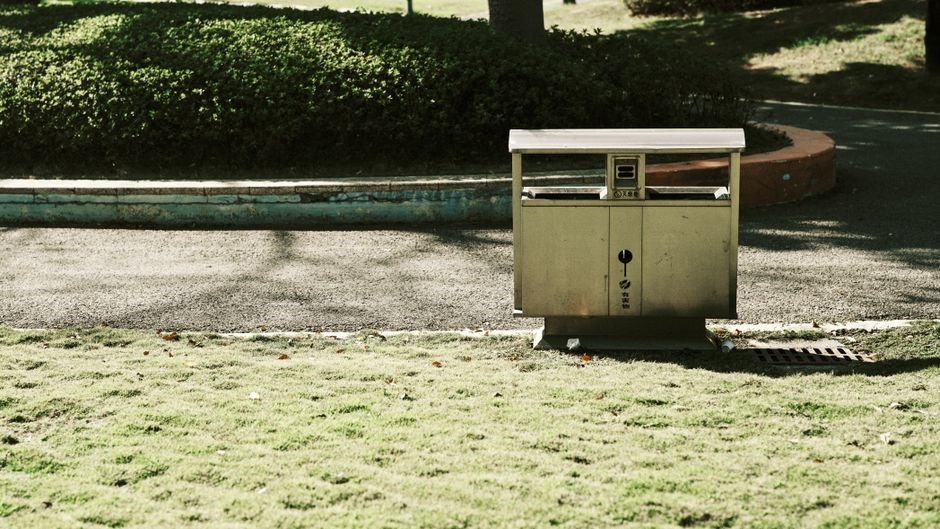
In a bustling commercial kitchen‚ the grease trap is the unsung hero that keeps plumbing‚ sanitation‚ and operations running smoothly. When the unit is sized correctly‚ it captures the right amount of fats‚ oils‚ and solids (FOS) while allowing clean water to pass through‚ preventing clogs‚ backups‚ and costly repairs. An oversized trap‚ on the other hand‚ can lead to slow drainage‚ increased pressure‚ and a higher risk of overflow during peak periods. Conversely‚ an undersized unit will fill rapidly‚ forcing operators to perform frequent manual cleanouts‚ interrupting service‚ and potentially violating local health codes. Accurate sizing also ensures compliance with municipal regulations that often tie penalties to improper grease management. Beyond compliance‚ proper sizing reduces energy consumption by minimizing pump cycling and decreases labor hours spent on maintenance; It also protects the environment by preventing grease from entering the municipal sewer system‚ where it can cause blockages and costly municipal cleanups. For MEP engineers and kitchen designers‚ using a reliable online sizing calculator that incorporates fixture count‚ cooking volume‚ and flow rate data guarantees that the chosen Grease Guardian model meets both operational demands and code requirements. In short‚ precise sizing is the foundation for efficient‚ safe‚ and cost‑effective kitchen operations. By investing in the correct size‚ operators can avoid costly fines‚ reduce downtime‚ and maintain a hygienic environment that delights customers and satisfies inspectors. peace now.
Key Factors Affecting Grease Trap Size
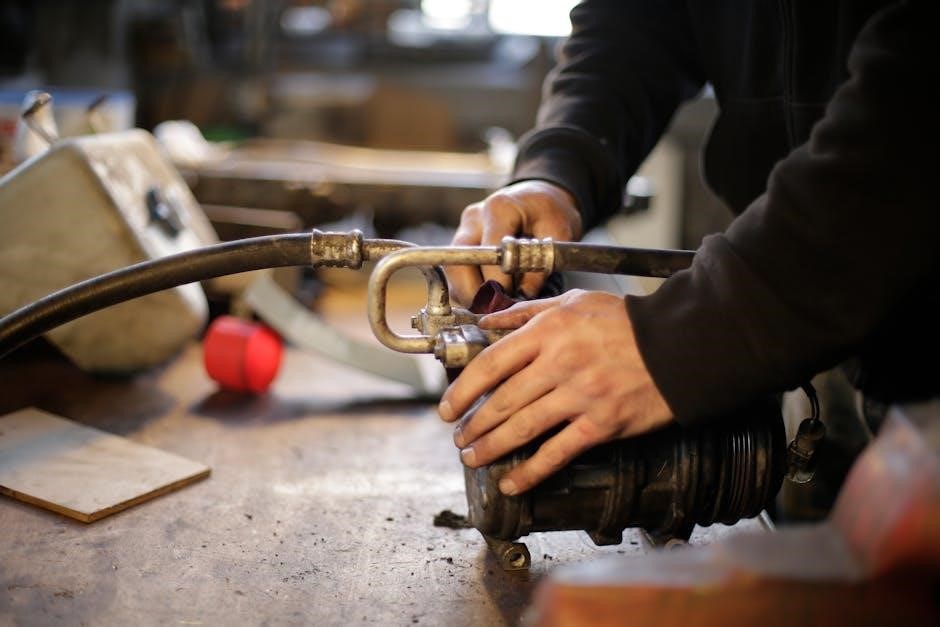
Key factors include kitchen layout‚ fixture count‚ and grease production rates. The number of sinks‚ ovens‚ and cooking equipment determines flow‚ while layout affects pipe length and pressure. Grease trap capacity must match daily FOS output to avoid overflow and maintain code compliance. (See Table 5)now!
Kitchen Layout‚ Fixture Count‚ and Grease Production Rates
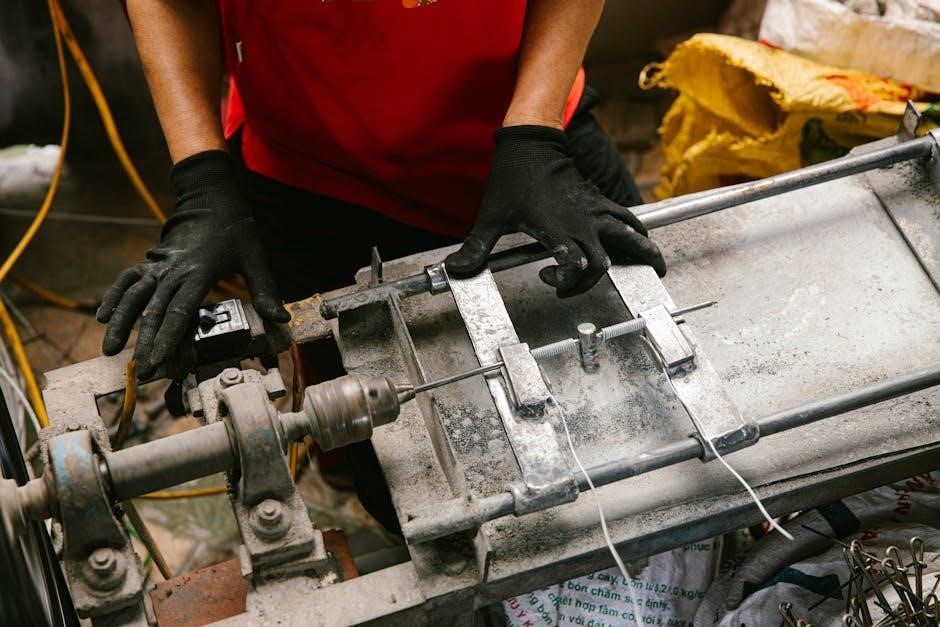
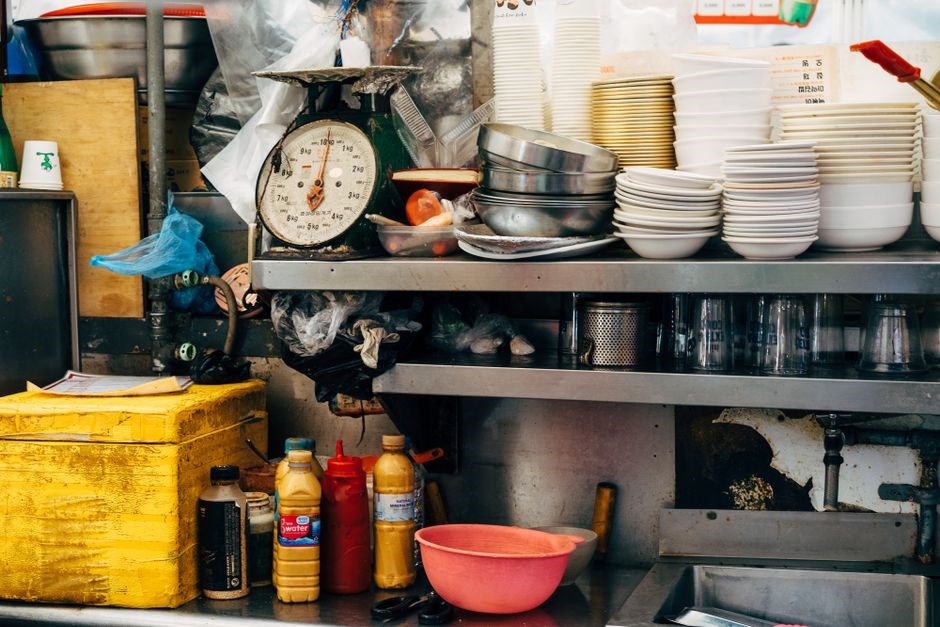
In commercial kitchens‚ the spatial arrangement of equipment‚ the number of plumbing fixtures‚ and the daily grease output are the three pillars that dictate the required grease trap capacity. A compact layout with high‑density cooking zones typically generates more grease per square foot than a spread‑out design‚ because the same amount of food is processed in a smaller footprint. When evaluating fixture count‚ each sink‚ dishwasher‚ and steam unit contributes to the overall flow rate; the standard industry guideline assigns a flow factor—often 0.5 to 1.0 gallons per minute per fixture—based on the type and usage intensity. Grease production rates‚ measured in pounds of grease per hour‚ depend on cooking methods: frying‚ sautéing‚ and deep‑frying produce higher grease loads than steaming or boiling. By multiplying the number of high‑grease fixtures by their individual grease output‚ designers can estimate the total grease load that the trap must handle. This calculation is further refined by incorporating the kitchen’s operational schedule; a 12‑hour shift with peak cooking periods will demand a larger trap than a 6‑hour shift with evenly distributed activity. The final sizing decision balances these three elements—layout efficiency‚ fixture density‚ and grease generation—to ensure the trap operates within its design capacity‚ maintains proper flow velocity‚ and complies with local plumbing codes. Accurate assessment of these factors prevents over‑or under‑sizing‚ reduces maintenance costs‚ and protects area from daily grease discharges.
Calculating Flow Rate and Capacity
Flow rate is calculated by multiplying fixture count by standard gallons per minute per fixture‚ then converting to gallons per day. Capacity equals flow rate times 1.5 to 2.5 days of grease production‚ ensuring the trap handles peak loads and complies with code. Use the calculator for precise sizing!!
Using GPM Flow Rate and DFU Methods
The GPM (gallons‑per‑minute) approach begins by calculating the average daily grease output per fixture. For a typical commercial kitchen‚ a sink may generate 0.5 GPM‚ while an oven might produce 2 GPM. Multiplying the fixture count by its GPM value gives the total continuous flow. For instance‚ 15 sinks (0.5 GPM each) and 3 ovens (2 GPM each) produce 15 GPM. Converting this to a daily volume (15 GPM × 24 h = 360 gal/day) provides the basis for sizing the trap’s capacity. The capacity is then set to accommodate 1.5 to 2.5 days of production‚ ensuring the unit can handle peak periods without overflow.
The DFU (Design Flow Unit) method aggregates the maximum potential flow from each fixture type‚ assigning a standard DFU value (commonly 1 DFU = 1 GPM). By summing the DFUs for all fixtures‚ designers obtain a single figure representing the peak instantaneous demand. This peak figure is cross‑referenced with the GGI sizing chart (Table 5) to select a trap that can handle the peak load while maintaining a safe operating margin. The DFU method is especially useful during the early design phase because it offers a quick‚ conservative estimate that satisfies code requirements without detailed flow analysis.
Both methods ultimately converge on a trap size that meets code requirements and operational efficiency. The GPM approach provides a granular‚ day‑to‑day operational perspective‚ while the DFU method offers a rapid‚ high‑level estimate for design purposes. When combined with the online sizing calculator‚ these methods enable engineers to select the optimal Grease Guardian model‚ ensuring compliance with local plumbing codes‚ minimizing maintenance costs‚ and protecting the environment. Engineers often validate the selected size by performing a back‑flush test‚ which simulates a 24‑hour cycle of grease accumulation and removal. The test confirms that the trap’s inlet and outlet velocities remain within the 0.5–1.0 ft/s range‚ preventing sediment buildup and ensuring efficient grease separation. Additionally‚ local health departments may require a minimum 30 % headspace in the trap to accommodate expansion and facilitate maintenance. By integrating these practical checks with the GPM and DFU calculations‚ designers can guarantee that the chosen grease trap not only meets theoretical standards but also performs reliably under real‑world conditions. All done!!!
Utilizing the Grease Trap Sizing Calculator
Enter fixture counts‚ oven types‚ and cooking volume into the online tool. It instantly recommends the correct Grease Guardian model‚ flow rate‚ and capacity. Download the sizing guide for detailed methods or use the calculator for quick‚ accurate sizing. The tool also offers a download for record keeping.
Step‑by‑Step Guide to Online Calculation
Step 1: Launch the Grease Guardian online sizing calculator and choose the kitchen category that best matches your operation—restaurant‚ cafeteria‚ or institutional food service. Step 2: Input the exact number of sink fixtures‚ ovens‚ and wok cookers that will be connected to the grease system. Step 3: Enter the average daily cooking volume in gallons; this figure should reflect peak production periods to ensure the trap can handle maximum flow. Step 4: Select the grease recovery method you intend to use—passive interceptors‚ active interceptors‚ or automated grease recovery devices (GRDs). Step 5: Click the “Calculate” button; the tool will instantly generate the recommended Grease Guardian model‚ the required flow rate in gallons per minute (GPM)‚ and the necessary capacity in gallons. Step 6: Carefully review the suggested unit size and confirm that it complies with local plumbing codes and the specific requirements of your jurisdiction. Step 7: Download the detailed sizing report for record‑keeping and to provide to contractors or maintenance personnel. Step 8: Use the report to place an order for the correct unit or to adjust an existing system to meet the new specifications. Step 9: Schedule routine maintenance based on the calculated flow rate and capacity to keep the trap operating efficiently and to avoid costly failures. Step 10: Re‑run the calculator annually or whenever significant changes occur in kitchen layout‚ fixture count‚ or cooking volume to ensure ongoing compliance and optimal performance.
Interpreting the GGI Sizing Chart
Table 5 lists GGI sizes by daily flow. Locate your kitchen’s GPM‚ then match the row to find the gallon capacity. Use the column for the number of DFUs to confirm the unit can handle the connections. This ensures compliance and optimal performance. Verify size.!!
How to Read Table 5 for Correct Unit Selection
Table 5 is the GGI sizing chart that links daily flow‚ gallons‚ and DFU limits. First‚ determine your kitchen’s average daily flow in gallons per minute (GPM). Multiply the GPM by 1‚440 to get the daily gallon total. Next‚ locate the row that matches this daily gallon figure. The column headings represent the maximum number of DFUs (disposable fixture units) that can be attached to a unit of that size. Identify the column that equals or exceeds your DFU count. The intersection of the row and column gives the recommended unit capacity in gallons. If your kitchen’s flow falls between two rows‚ choose the higher capacity row to ensure adequate headroom. Always verify that the selected unit’s DFU limit is not less than your total DFUs. This method guarantees compliance with plumbing codes and prevents over‑loading‚ which can cause overflow or inefficient grease separation. Keep a copy of the chart for future reference and to validate any changes in kitchen layout or equipment. By following these steps‚ you can confidently select the correct GGI unit that balances performance‚ cost‚ and regulatory requirements. Remember that the chart is a guideline; local codes may impose stricter limits‚ and seasonal variations in cooking volume can shift your daily flow. Periodically re‑evaluate your calculations‚ especially after adding new appliances or expanding service hours. Document the chosen unit size‚ the flow calculation‚ and the DFU count in your maintenance log. This record will aid future inspections and help justify any upgrades or replacements. Finally‚ consult with a licensed MEP engineer if your kitchen’s configuration is complex or if you encounter ambiguous data in the chart. Their expertise ensures that your grease trap sizing remains accurate‚ compliant‚ and efficient over the life of the facility.
Common Mistakes and Pitfalls
Over‑sizing wastes money‚ under‑sizing causes overflow‚ ignoring DFU limits breaks code‚ neglecting seasonal flow shifts leads to failure‚ and bypassing the online calculator forces guesswork. Always verify calculations and follow local regulations. and stay compliant.
Avoiding Over‑or Under‑Sized Traps
To prevent costly errors‚ begin with a precise flow‑rate assessment. Measure the average gallons per minute (GPM) during peak cooking periods and then apply a safety factor of 1.2 to account for variability. Next‚ determine the number of disposable fixture units (DFUs) your kitchen uses; each sink‚ dishwasher‚ or cooktop contributes a specific DFU value. Combine the GPM figure with the DFU count and consult Table 5 of the GGI sizing chart to identify the minimum required capacity; The online sizing calculator automatically performs these calculations‚ but manual verification is essential. Over‑sizing not only inflates capital and installation costs but can also reduce system efficiency by increasing residence time. Under‑sizing‚ on the other hand‚ forces the trap to fill faster than designed‚ leading to frequent cleaning‚ potential overflow‚ and code violations. Always cross‑check the selected unit against local plumbing codes‚ which may impose stricter limits on maximum DFUs or require a specific trap type. Finally‚ schedule routine inspections to confirm that the trap remains within its intended operating range‚ adjusting the size if kitchen layout or cooking volume changes over time. Additionally‚ consider seasonal variations: a summer kitchen may produce more grease‚ so a slightly larger unit can accommodate spikes. Ensure the trap is installed with a 90‑degree bend to prevent backflow and that it is accessible for cleaning. The GGI chart’s capacity ranges help you avoid selecting a unit that is too small for the largest grease load while still staying within code requirements. By following these steps‚ you can confidently avoid both over‑ and under‑sized traps‚ ensuring long‑term compliance and operational efficiency. When in doubt‚ consult a licensed MEP engineer to verify your calculations. Document the sizing process for future reference and maintenance schedules. Remember that a correctly sized trap reduces the frequency of manual cleaning and extends the lifespan of the system. Moreover‚ keep in mind that the grease trap’s inlet and outlet pipe diameters must match the calculated flow rate to avoid pressure drops. A properly sized trap also helps maintain a stable temperature in the kitchen by preventing excessive heat buildup. Check that the trap’s material matches the corrosive environment of your kitchen.

Code Compliance and Maintenance Tips
Follow local plumbing codes‚ verify the trap’s DFU limits‚ and schedule quarterly inspections; Keep the inlet/outlet clear‚ use proper venting‚ and record each cleaning. A well‑maintained trap extends life‚ reduces fines‚ and ensures safe‚ compliant operation. Log audits cut fines and extend life daily.
Ensuring Code Adherence and Ease of Service
Compliance begins by selecting a grease trap that meets local DFU limits and the required GGI rating. Verify inlet and outlet sizes match the kitchen’s pipe schedule‚ and confirm the trap’s capacity fits the 1.5‑to‑2.5‑hour retention window mandated by most codes. A properly sized unit cuts back‑flow risk‚ preventing violations and costly repairs.
Keep the system service‑ready with an accessible access panel and clear labeling for each trap. Use a calibrated flow meter to monitor real‑time GPM‚ flagging deviations from expected ranges. Schedule inspections at least twice a year‚ log cleaning dates‚ DFU counts‚ and grease buildup. Documentation satisfies inspectors and tracks performance trends.
- Check the manufacturer’s manual for venting requirements to avoid pressure buildup.
- Use a grease‑resistant brush and high‑temperature detergent to remove solids without damaging the lining.
- Install a back‑flow prevention device if required‚ especially in high‑volume kitchens.
- Ensure the discharge line slopes at least 1% to promote continuous flow.
- Keep the interior free of debris by performing a quick visual check before each cleaning.
Combining code‑compliant sizing‚ proactive monitoring‚ and systematic maintenance extends trap life‚ reduces downtime‚ and avoids penalties. A well‑managed system is a cornerstone of safe‚ efficient kitchen operations.

Integrate a digital monitoring system that alerts when flow rates exceed thresholds or grease reaches critical levels. Automation reduces manual oversight‚ ensures timely intervention‚ and keeps the kitchen compliant and operationally smooth.
Always verify the latest code amendments and keep a digital record of all maintenance activities; this proactive approach ensures compliance‚ protects your business‚ and supports a healthy kitchen environment.

Remain compliant.